As you know from this post, I planned to refashion a large pink button-down shirt with swiss dots using the portrait blouse pattern from Gertie's New Book for Better Sewing. After a lot of hemming (not literally) and hawing, I FINALLY dove in and got my garment done!.
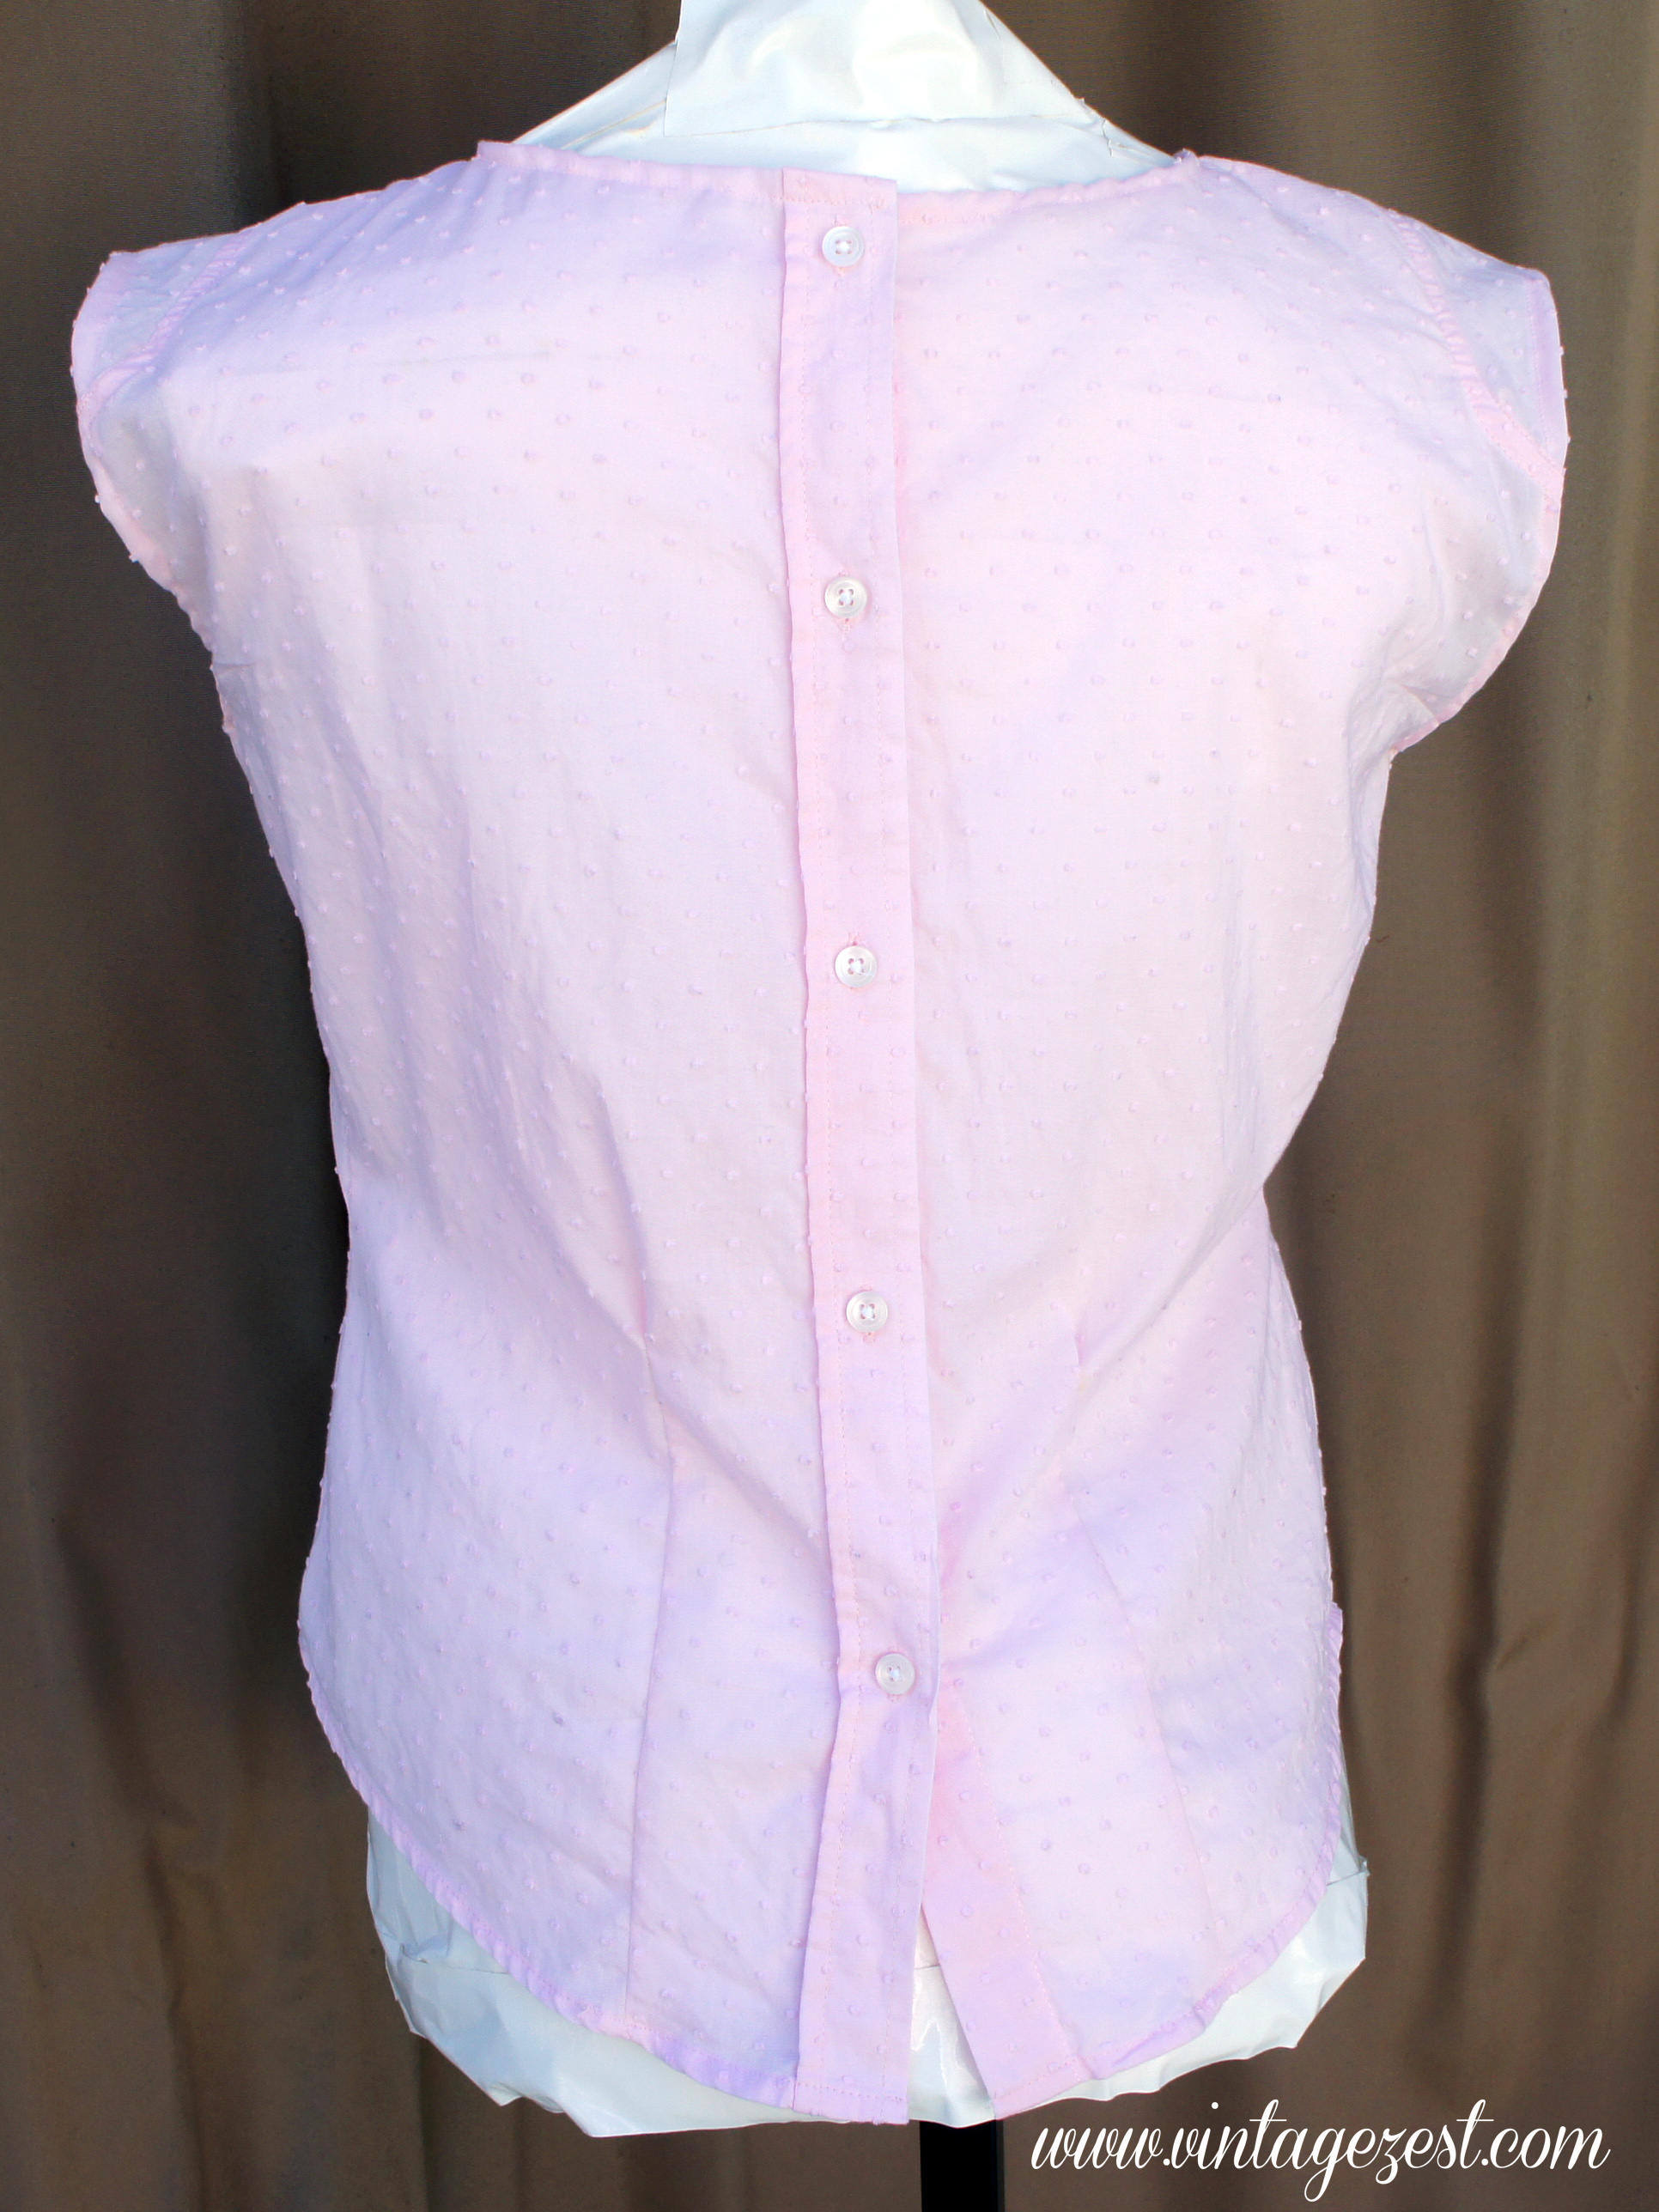
Here is my Refashioned Pink Portrait Blouse!

This was a part of our Refashioning the 1960s Challenge and with this 1960's inspired pattern and starting materials, I think I did a pretty good job. :)

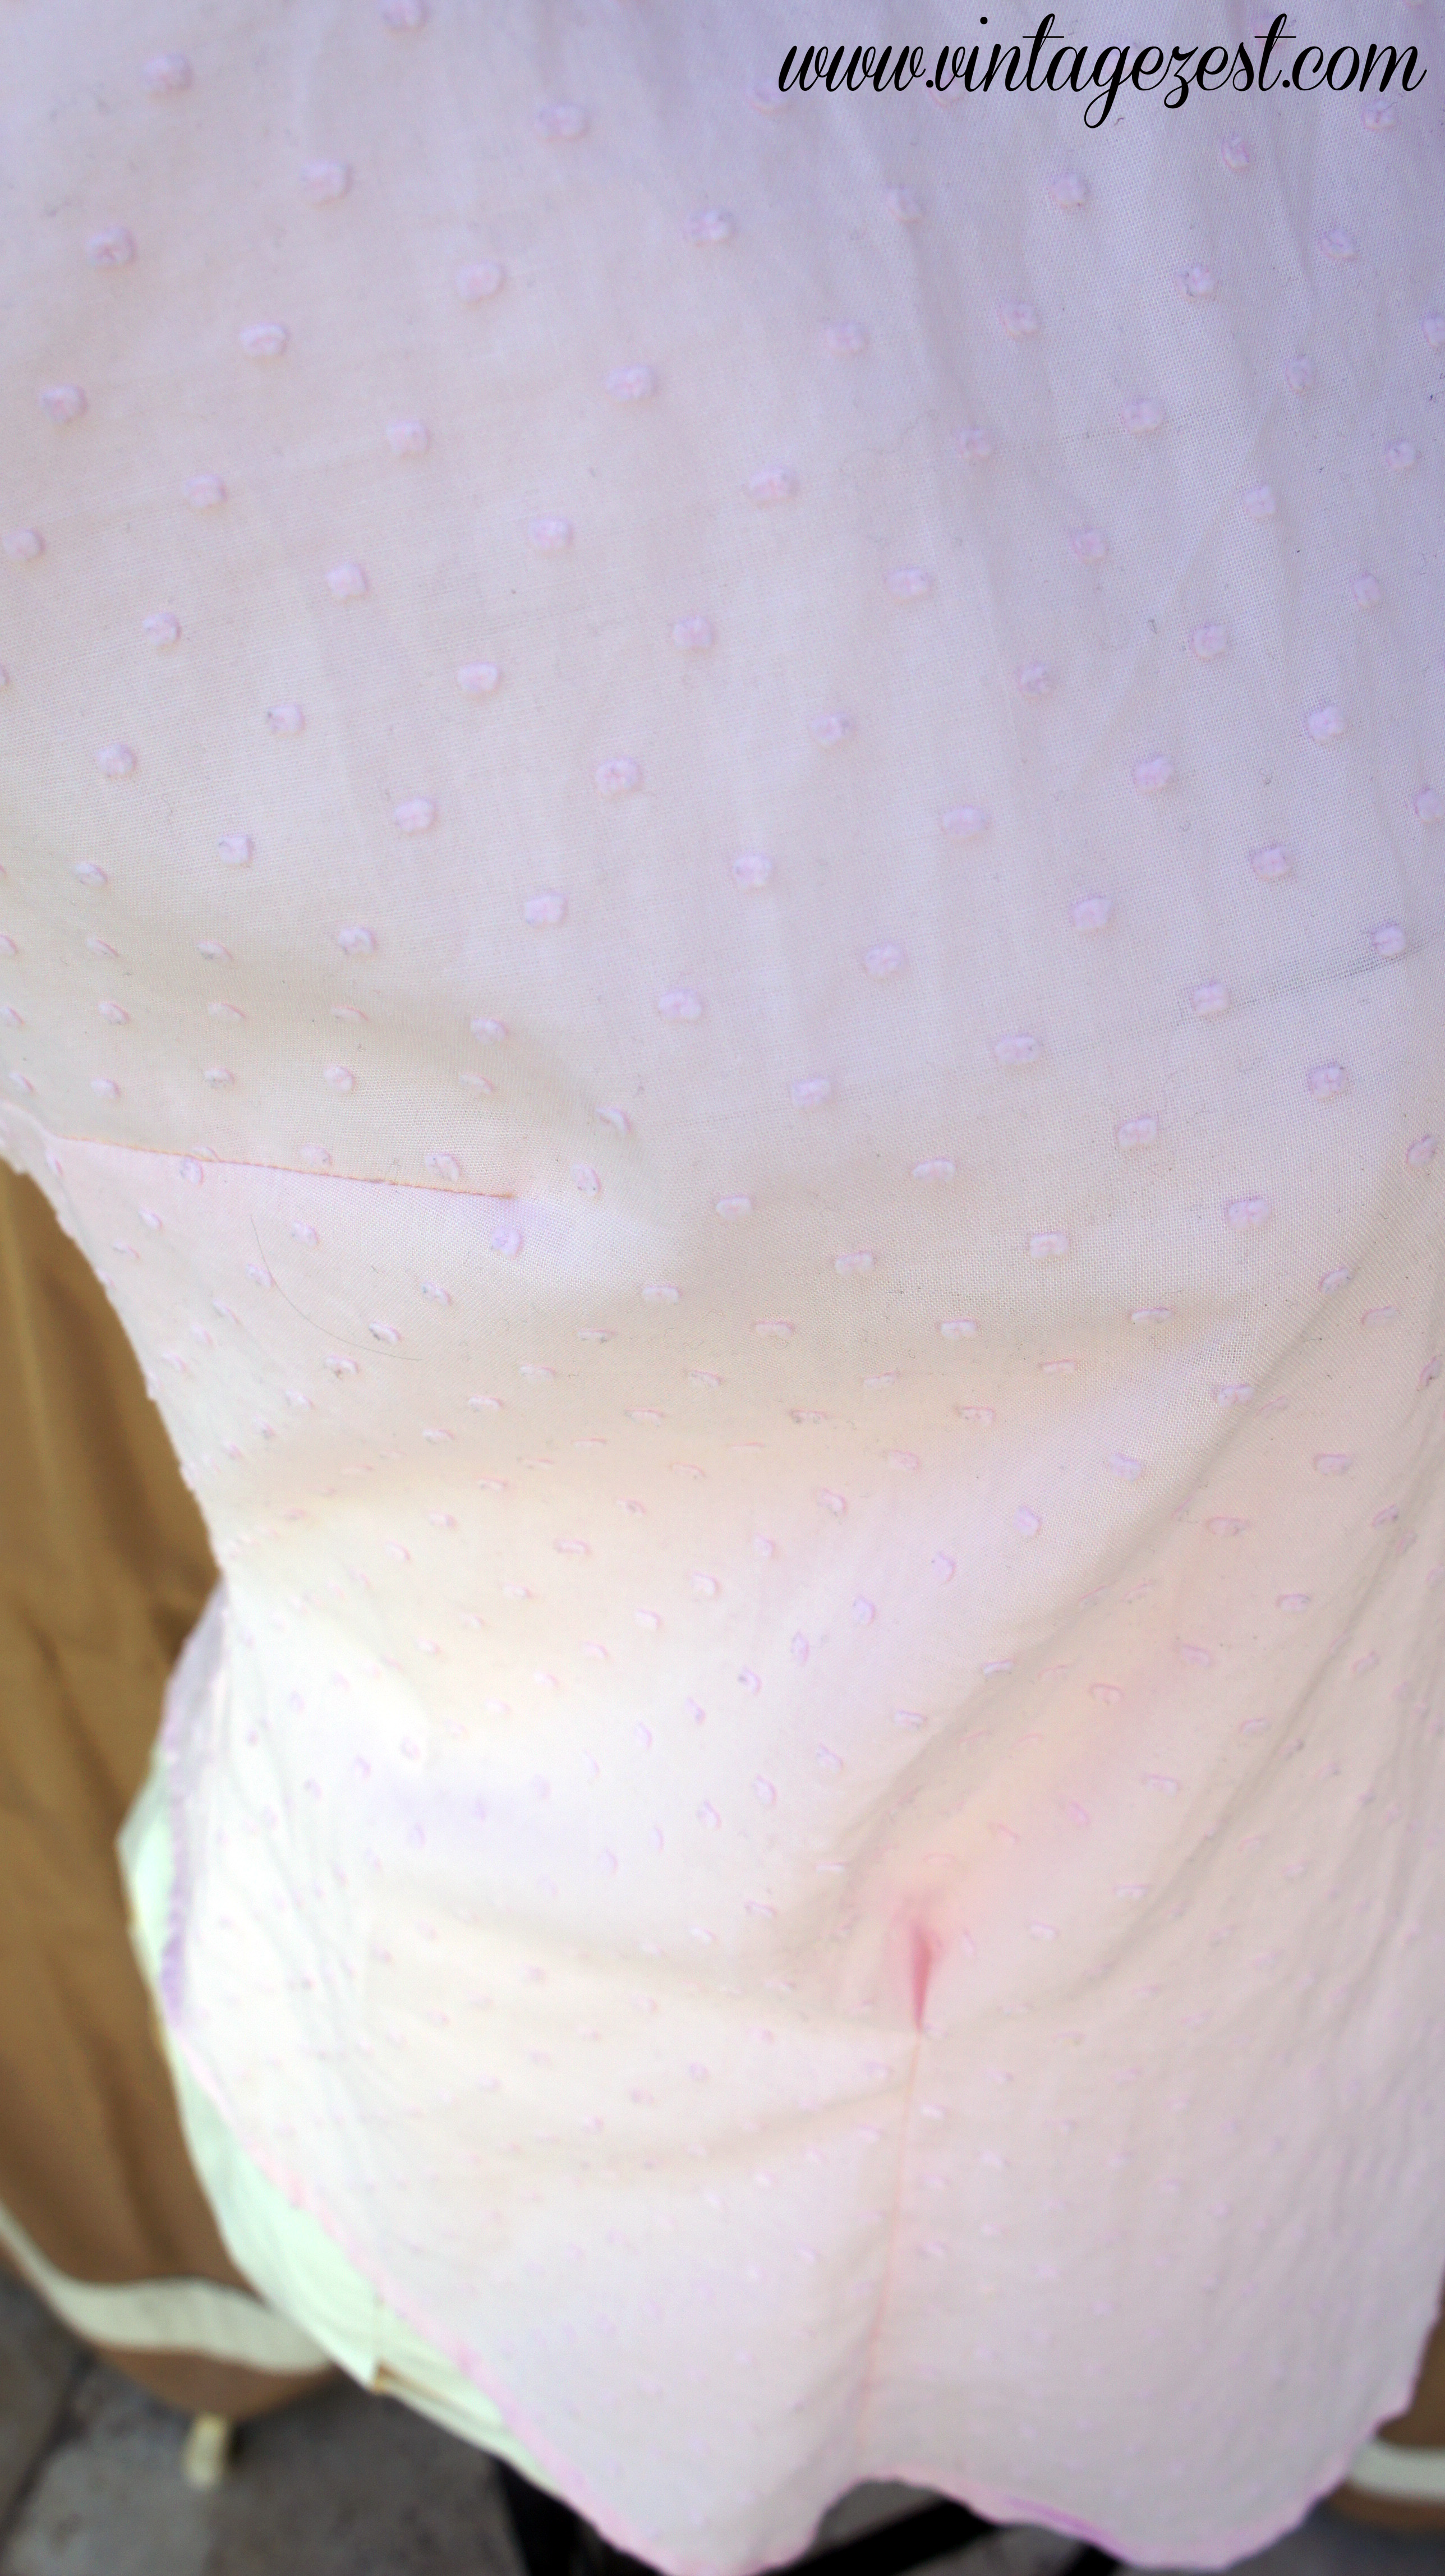
First of all, I obviously turned the blouse around and reworked the shirt from there. That means that I was left with a lovely row of buttons all along the back of the shirt! I think it's lovely, and it made the construction much easier. Of course, I still had some difficult items to contend with along the way, which I plan to share in a post about how to refashion garments.
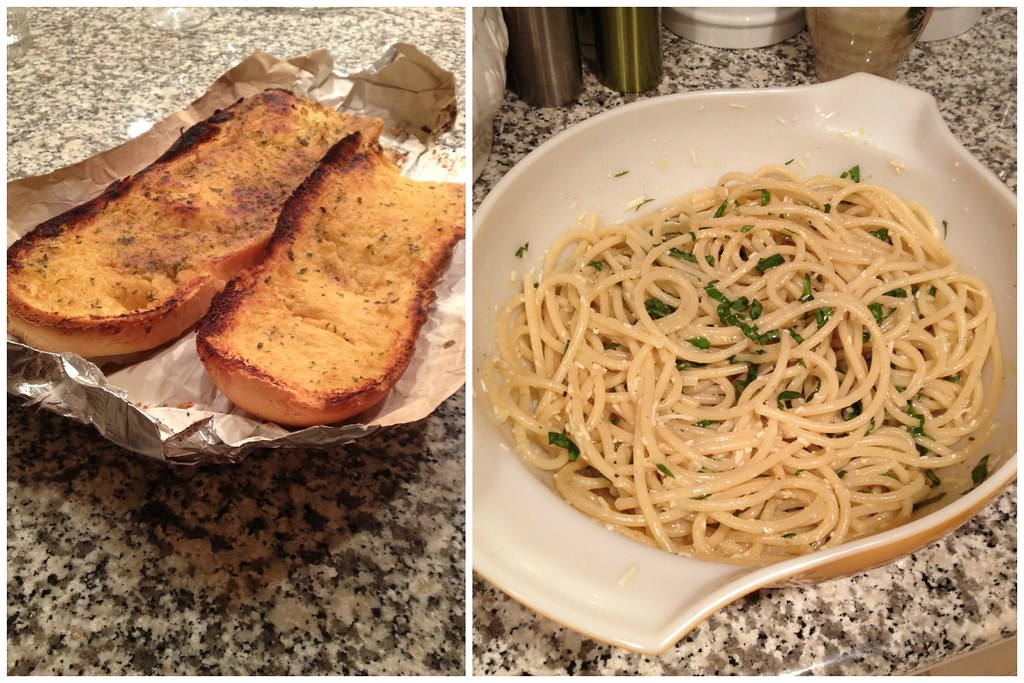
As for the pattern itself, I found that it was easy to use, even though I was apprehensive about it. I traced the pattern, for which I will share a tutorial some time next week. It was my first time sewing tucks, which I think are very feminine and unique! Here is a close-up of the dart, tuck, and the Swiss dot fabric.
I did mention that I made a few changes to the pattern. For one thing, I did not follow the hem exactly and I just decided to keep the original hem of the pieces. It required a bit of measuring to make sure they matched up, but it was pretty close! To make the neckline more flattering on me, I created a slight V-shape.
Also, I did not include the side zipper, since I can shimmy into the shirt or unbutton the back if need be. Lastly, I did not include the facings and just hemmed the neckline normally. The fabric is sheer and fairly strong, so I thought a facing would actually be more of a distraction than anything.
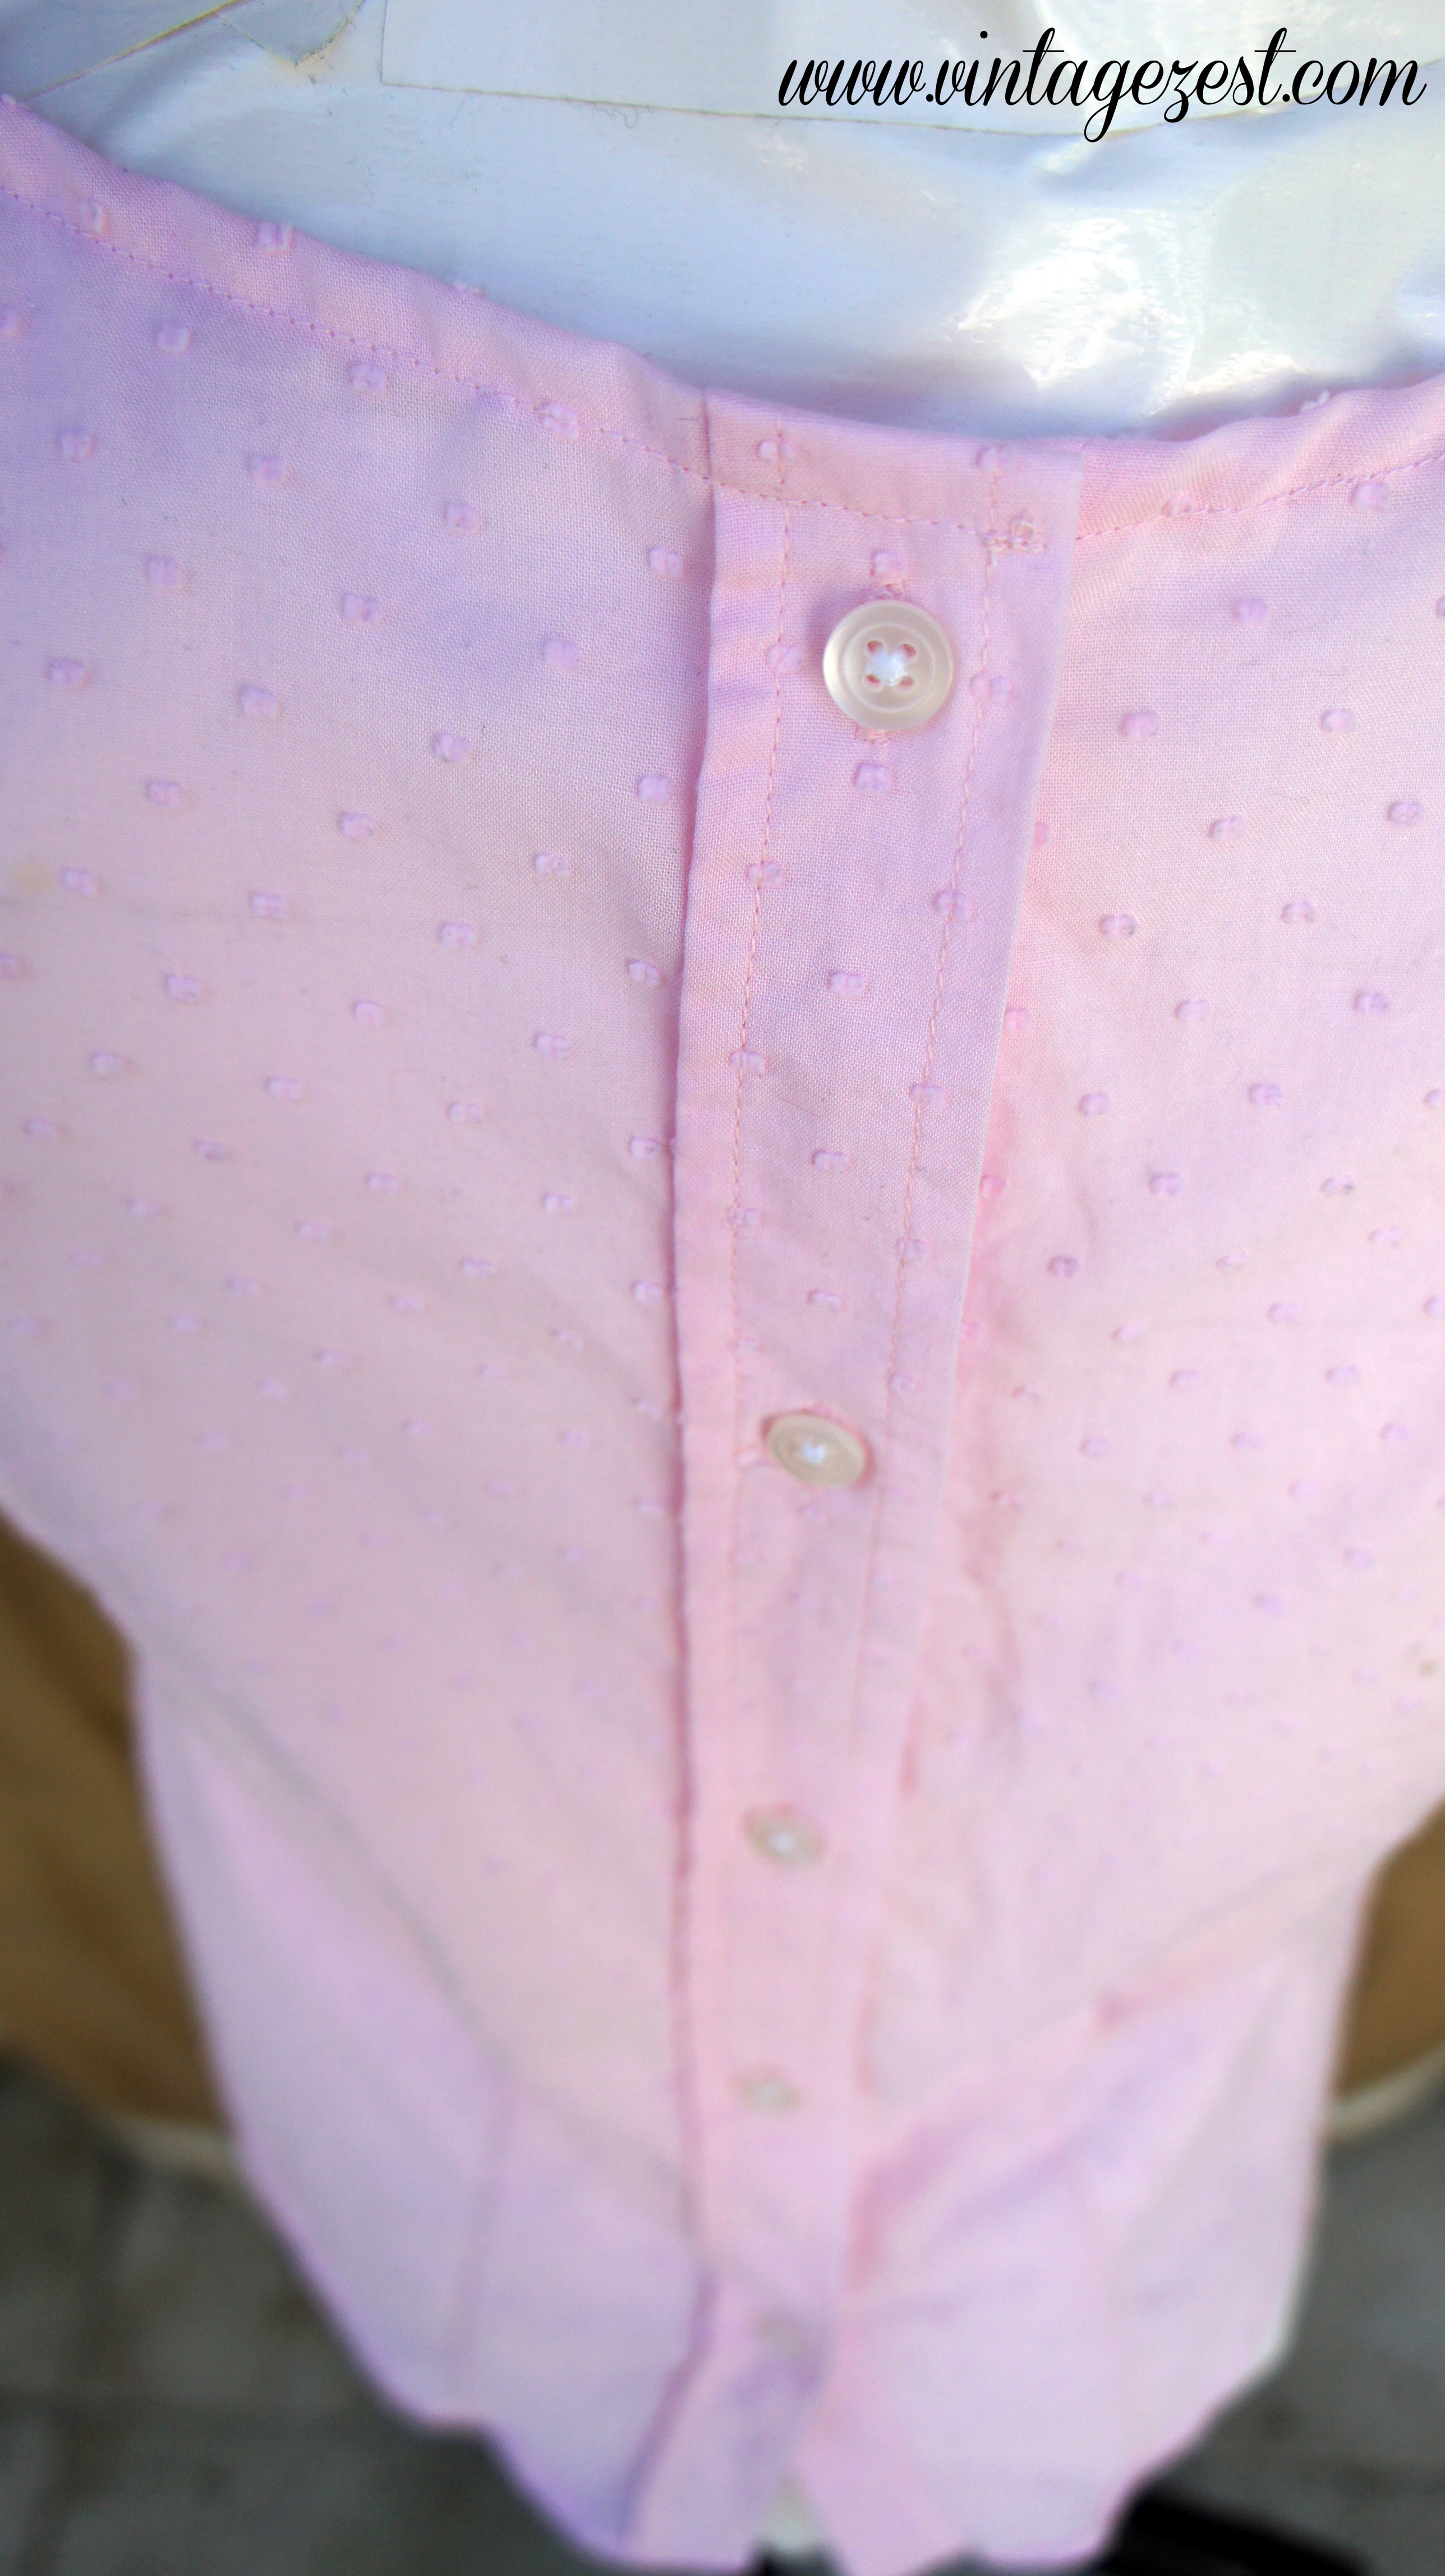
Now for the bad part... Although it looks a bit lumpy here, the back fits perfectly except there is one problem. I didn't have enough fabric on the original front piece, so I had to cut through the sleeves to borrow a bit of fabric. Scroll down a picture if you're not sure what I mean...
That's the edge of my sleeve below. Also, since the original sleeve was set in with excess fabric in the shoulder area (like normal), I had to basically create a dart in the bottom of the sleeve and cut away the excess to get the fabric to lie flat.

I can pretend that it was an intended detail, but we all know that it totally wasn't! The funny thing is that now I have the leftover two sleeves and the collar, but there was no way to make the piece I wanted bigger. Oh well!

The thing that I'm most proud of is my tiny bit of tailoring to make it a bit more flattering. I know that it looks a little loosey goosey on Lily, but I like the way it fits now, and I actually made quite a few changes!
First of all, I moved the dart up more than 1 inch because it was pointing pretty far down on the apex of the bust. Also, I always seem to have a bunching of fabric at the back of my neckline, as well as having it rise very high on my neck. I adjusted the piece, and it now lays flat.
********************
This was a great learning experience, and I can't wait to refashion a few more garments in my closet! Stay tuned next week for the rest of our Stitch Once, Rip Twice members' garments!